
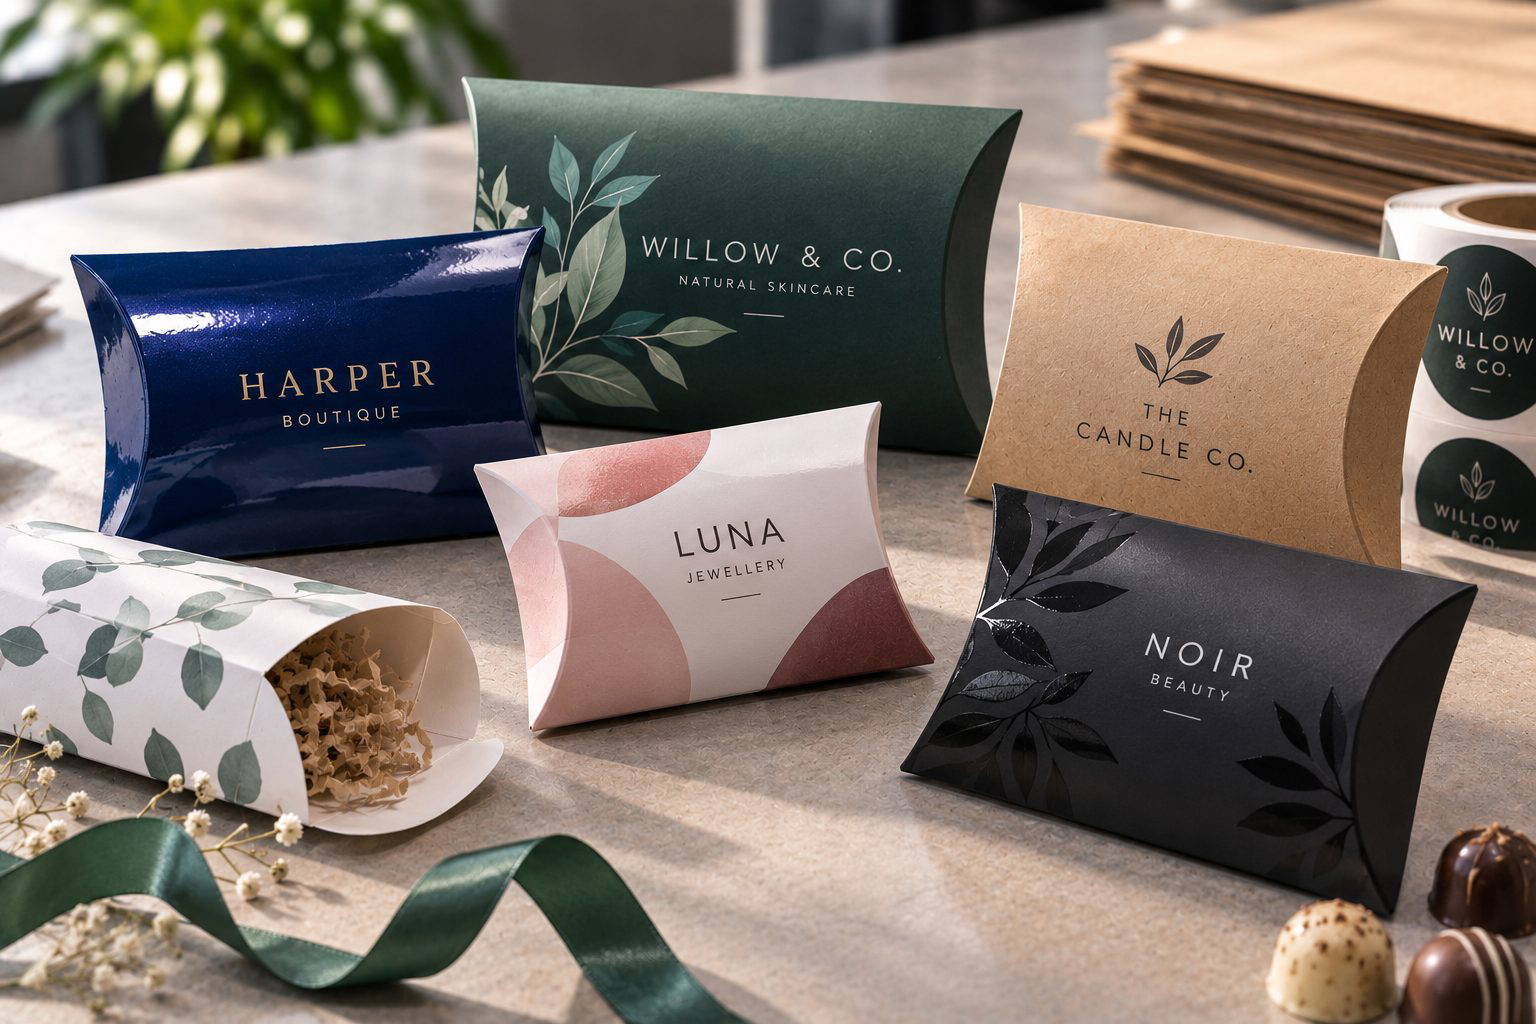
The practical decision is whether a pillow box is the right format for what you are packing and how it will be handled. If the item is light, relatively flat, and needs an attractive, quick-to-assemble presentation, a pillow box can be a smart choice. If the contents are heavy, fragile, or likely to be stacked under load, a rigid carton may perform better.
What is a pillow box and when does it work best?
A pillow box is a die-cut packaging shape that forms a curved body with two opposing tuck-in ends. It arrives flat, folds along pre-creased lines, and pops into shape quickly. The curve gives it a gift-like look while using less board than many rectangular cartons.
In a print-shop setting, we often see pillow boxes used for small retail packs, gifts, promotional products and event handouts. For example, a jewellery maker might use a pillow box to present earrings with a branded sticker seal, while a salon could use them for sample sachets and a loyalty card.
Design choices: size, board and artwork setup
Choosing the right size
Start with the product dimensions, then add realistic clearance for insertion and removal. Pillow boxes taper at the ends, so a square-cornered item can feel tighter than expected. If you are packing something like a small soap bar, allow extra room for tissue or a belly band.
Board and finish considerations
Because pillow boxes rely on the curve for their shape, board choice matters. A suitable packaging stock helps the box hold its form and reduces denting during handling. A smooth coated stock can also give printed colours, images and solid areas a clean, sharp finish.
One thing that is particularly important with digitally printed pillow boxes is toner coverage. The board has to bend quite significantly when the box is assembled, and large areas of toner can be more prone to cracking as the stock curves and folds. If your design uses heavy toner coverage, particularly dark colours or large solid areas, we would normally recommend laminating the printed sheet. The laminate helps protect the printed surface and significantly reduces the risk of cracking when the box is formed.
Lamination can therefore be a practical production choice as well as a visual one. Matt, gloss or soft touch finishes can change the appearance and feel of the finished box, but with high toner coverage the main reason for recommending it may simply be to help the print cope with the amount of bending involved.
For colour, supply print-ready artwork in CMYK to avoid unexpected shifts from RGB. If your logo or artwork contains particularly bright screen colours, remember that some RGB colours cannot be reproduced exactly in CMYK.
- Keep key text away from crease lines and tuck areas.
- Allow bleed so background colours run cleanly to the cut edge.
- Use high-resolution images and vector logos for sharp results.
- Consider lamination where there are large areas of toner, particularly across folds or curved sections.
- Plan where a label or seal will sit so it does not cover vital copy.
Die-cutting explained: from outline to cutting forme
Pillow boxes are produced from a dieline showing where the sheet needs to be cut and creased. Depending on the quantity and specification, the boxes can be cut using a traditional cutting forme or digitally cut and creased. Either way, the aim is the same: accurate cuts and controlled crease lines so the finished box forms correctly.
This is why it is important to design the artwork around the dieline rather than treating the box like a flat rectangular sheet. Important text, logos and fine details need enough clearance from cuts and folds, while backgrounds and images that run to the edge need sufficient bleed.
Assembly and real-world handling
Assembly is straightforward. The body is gently pushed into its curved shape before one end is tucked in, the product is loaded, and the other end is closed. For retail products, a label or sticker can also be used to secure the flap if required.
Think about how the box will be used once it leaves the printer. If it will be posted, consider an outer mailer because pillow boxes can be crushed in transit. If it will sit on a counter or form part of a retail display, think carefully about which panel will be most visible and make sure the important information appears in the right place once the box is assembled.
Common mistakes to avoid
The biggest issues tend to be sizing the box too tightly, placing important artwork across fold lines, forgetting how much the board needs to curve, and using heavy toner coverage without considering how the printed surface will behave when the box is formed.
Build the design around the dieline, keep critical elements in safe areas and think about the finished three-dimensional box rather than just the flat artwork. If the design contains large solid areas of print, talk to your printer about lamination before production. It is much easier to specify the right finish at the start than discover cracking when the boxes are being assembled.
Need pillow boxes or want us to check your dieline first?
Tell Melbourne Print what you are putting inside, how the finished box will be used, your quantity and when you need them. If you already have artwork or a dieline, send that over too. We can check it and recommend a practical board and finish, including whether we think lamination is needed. Contact Melbourne Print or email our team with your requirements.